DNS Check can send you notifications via PagerDuty when DNS records start passing or failing. This page describes how to set up DNS Check / PagerDuty integration.
- Log in to your DNS Check account.
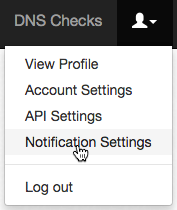
- Click the User icon in the top-right corner, then click Notification Settings:
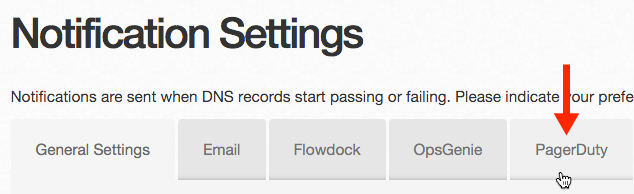
- Click the PagerDuty tab:
- Click the green Alert with PagerDuty button. This directs you to an authorization page on PagerDuty's website:
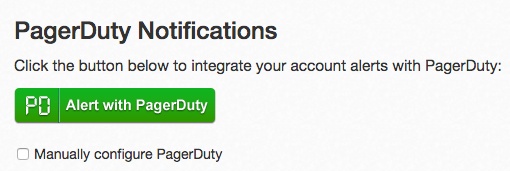
Alternatively, you can click the Enter API key manually dropdown below the button and paste in your API key directly.
- Log in to your PagerDuty account.
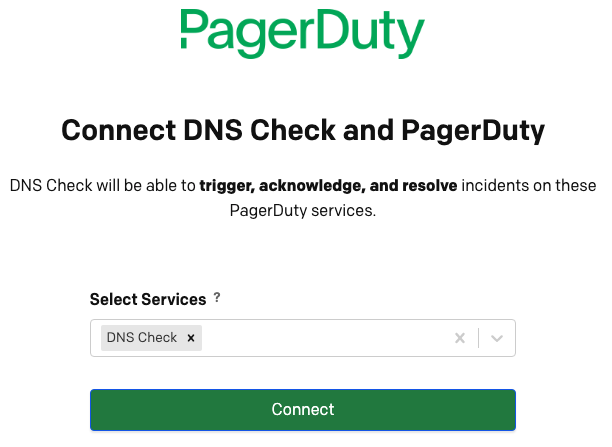
- Select the PagerDuty service that you wish to have DNS Check send alerts to, then click Connect:
PagerDuty will direct you back to DNS Check's website. If the integration process is complete, then a message appears in a green box, as shown below, indicating that. Otherwise, a red box is displayed, indicating why the integration process is not complete:

Notice that in the screenshot above, PagerDuty notifications are turned on. You can toggle this field off and on to disable and re-enable PagerDuty notifications at any time.
Congratulations! You're now finished integrating DNS Check and PagerDuty.
Support
If you need help with this integration, please get in touch with DNS Check.
Other Resources
- DNS Check + PagerDuty = Complete DNS Monitoring - a blog post that announced the integration and provided a high-level overview of both services.

Protect your DNS infrastructure with automated monitoring
Get notified immediately when DNS records change. Start monitoring your critical DNS infrastructure for free in under 5 minutes.
No credit card required • Cancel anytime