You can use DNS Check to monitor DNS records for changes. Monitored DNS records are automatically checked every 5 minutes by default.
Here's how to set this up:
- Sign up for a DNS Check account.
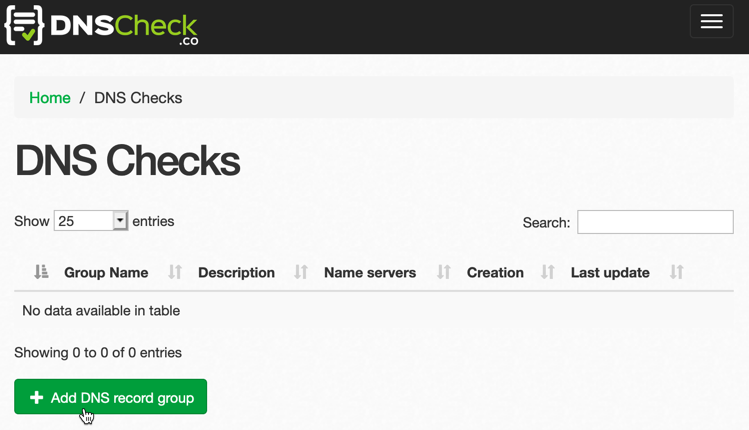
- Click on DNS Checks in the top navigation bar:

- Click the Add DNS record group button:
- This brings up the following form:
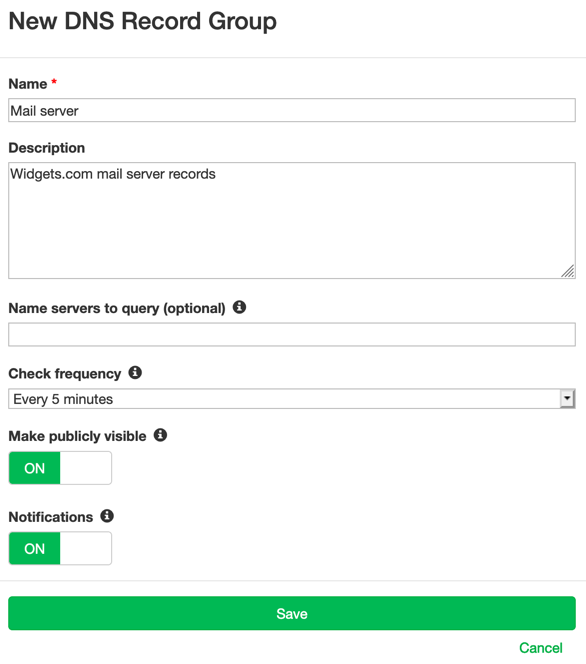
Here's a brief description of each field:
- Name - this appears in the DNS record group page's title and header.
- Description - the optional description appears below the title. Example uses include internal notes or instructions for posting DNS records.
- Name servers to query - if you have a paid account, you can optionally specify which name server (DNS server) you wish to query. You can enter the name server's domain name or IP address. DNS Check's recursive name servers are queried by default.
- Check frequency - How often to check DNS records in this record group. The default is 5 minutes. Paid accounts may also choose to pause checks or to only run them once an hour.
- Make publicly visible - When this option is on, you can share the DNS record group's URL with anyone you wish to give read-only access to. Here's an example publicly visible DNS record group. When this option is off, your DNS record group can only be viewed by logging into your account.
- Notifications - this controls whether to send notifications when a DNS record changes state between passing and failing. See our Notification Settings page for more details.
After you fill out the form, click Save to create the new DNS record group.
- Now it's time to add DNS records:
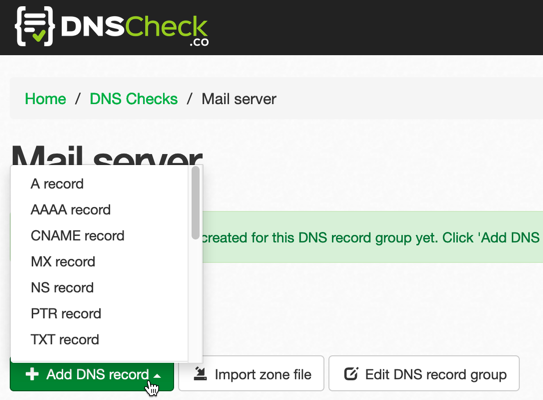
You have two options (detailed below):
- Add individual DNS records by clicking the Add DNS record button and selecting a record type.
- Import a zone file by clicking the Import zone file button.
Adding Individual DNS Records
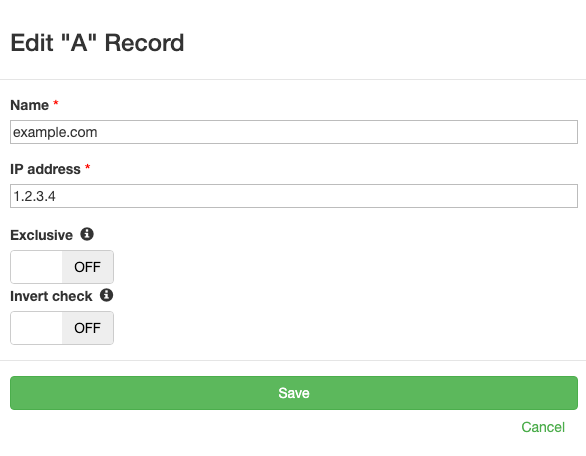
When you click the Add DNS record button and select a record type, a form appears with the fields that are relevant to the selected record type. For example, here's what's shown for an A record:
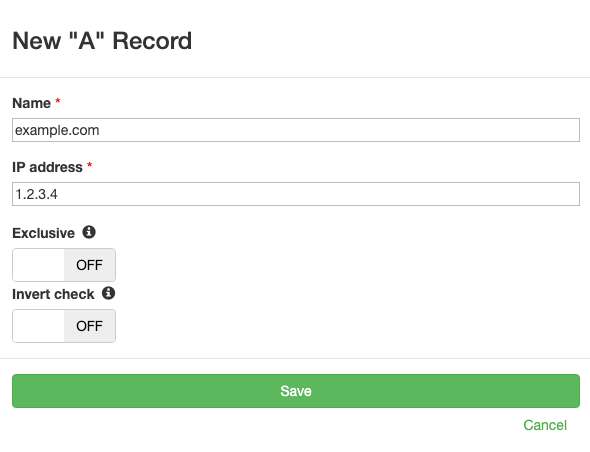
Form Fields
- Name - The DNS record name to monitor. For example,
example.comorwww.example.com. You can use wildcards like*.example.comto match multiple records. - Value - The expected IP address, like
1.2.3.4for a specific IP or*to create a wildcard entry that matches any IP. - Exclusive - When enabled, the check will fail if any additional DNS records with the same name and type exist beyond what you've specified. This ensures an exact match. See our blog post about checking multiple DNS records for more details.
- Invert check - (paid accounts only) When enabled, the
check logic is reversed. The check passes when the DNS record is not
found, or when it is found but with a different value. Example uses are:
- Monitoring for record creation: Set the value to
*and enable "Invert check". The check passes when the record doesn't exist and fails when it's created, triggering a notification.Example: Monitor
example.com A *with "Invert check" enabled to be notified when any A record forexample.comappears. - Preventing unwanted values: Specify a problematic value and
enable "Invert check". The check passes as long as that value doesn't
appear in DNS.
Example: Monitor
example.com A 192.168.0.1with "Invert check" enabled to be notified if the IP address 192.168.0.1 ever appears in DNS results.
ALIAS records: When using "Invert check" with an ALIAS record, the check passes when the two DNS lookups (Name and Value) return different results. This is useful for detecting when an ALIAS mapping breaks or changes unexpectedly.
Note: The "Invert check" option cannot be used together with the "Exclusive" option or on load balancer records.
- Monitoring for record creation: Set the value to
After filling out the form, click Save to create the DNS record. The record will be checked immediately and then automatically every 5 minutes (or according to your configured check frequency).
You can edit any DNS record later by clicking on it in the DNS record group page. The edit form has the same fields as the create form:
Import a Zone File
If you have many DNS records to monitor, you can import them all at once using a zone file. This is much faster than adding records individually.
Click the Import zone file button to open the import form:
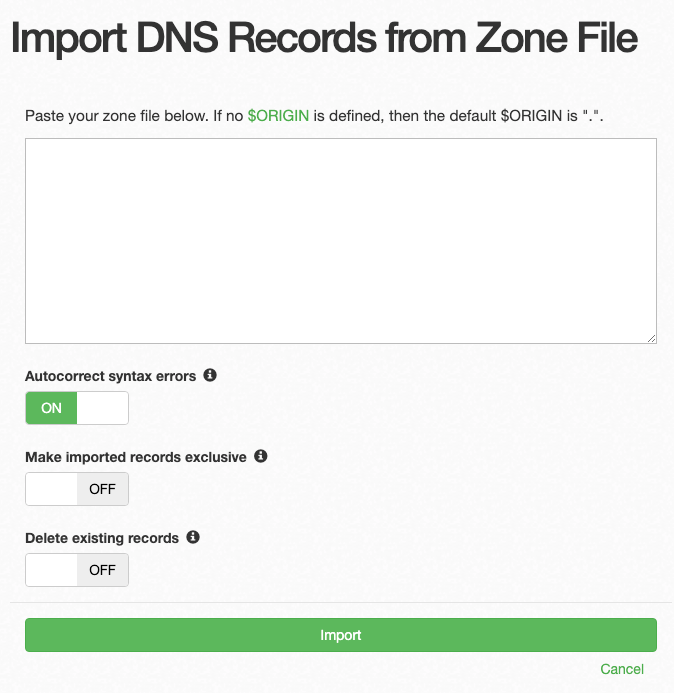
Paste your zone file contents into the text area and click Import. DNS Check will parse the zone file and create DNS records for each entry. Standard zone file format (RFC 1035) is supported, including:
- A, AAAA, CNAME, MX, NS, TXT, SOA, SRV, and SPF records
- Comments (lines starting with
;) - $ORIGIN and $TTL directives
- Relative and fully-qualified domain names
After importing, you can review and edit the imported records as needed. You can also export your monitored DNS records back to zone file format at any time by clicking the Export to zone file button on the DNS record group page.
Notification Options
DNS Check provides many notification options. Each time a DNS record changes state between passing and failing, a notification gets sent using each enabled option. You may enable as many or as few of these options as you'd like.
See our Notification Settings page for more details.

Protect your DNS infrastructure with automated monitoring
Get notified immediately when DNS records change. Start monitoring your critical DNS infrastructure for free in under 5 minutes.
No credit card required • Cancel anytime